Planting a tree is a rewarding activity that contributes to the environment and enhances your landscape. Watch the video below or follow this in-depth guide to ensure your tree thrives for years to come!
Materials
- Shovel
- Rake
- Hand Saw
- Pruners
- Watering Can/Hose
- Mulch
Step 1: Clear the Planting Site
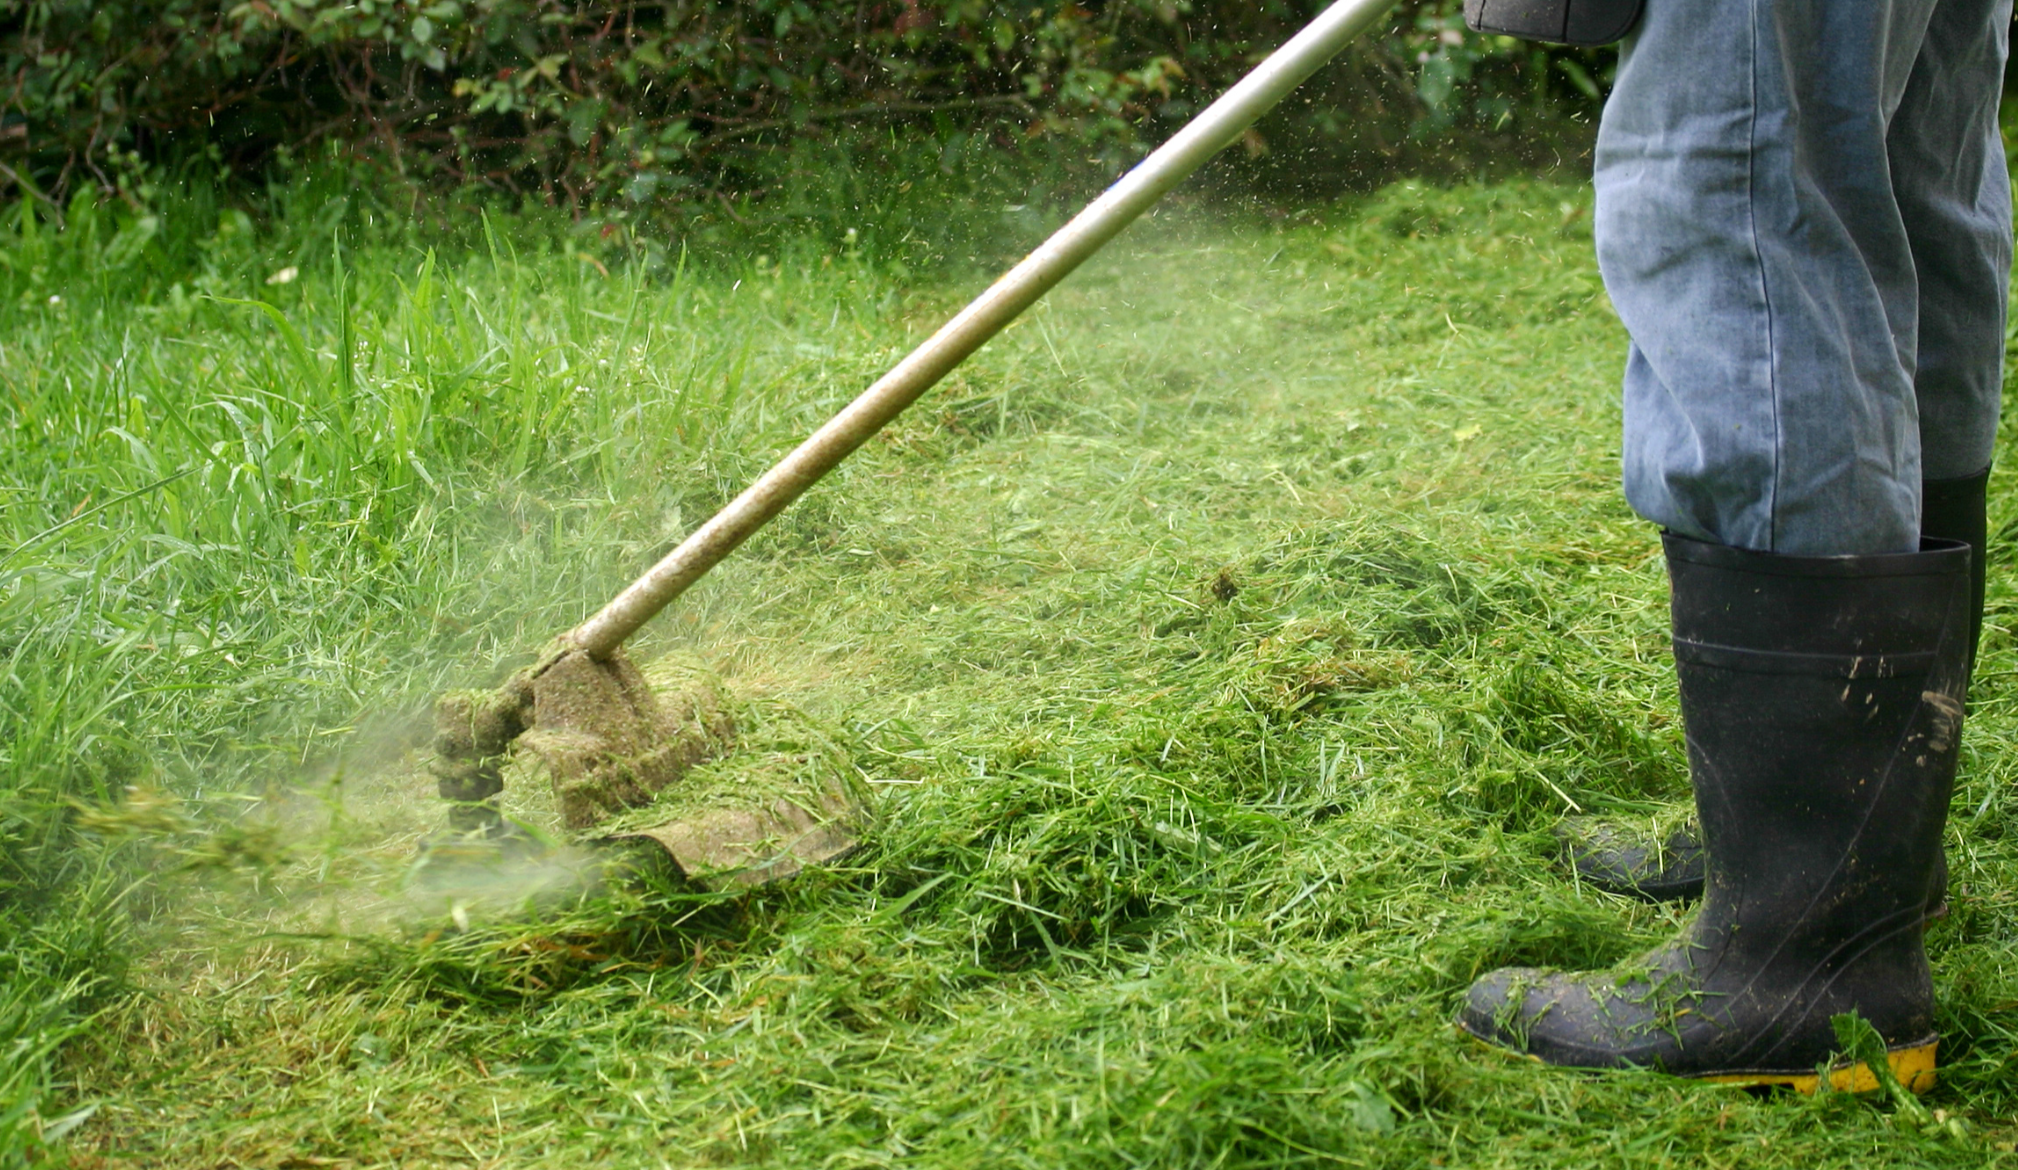
Begin by removing any grass or weeds from the planting area. Clear a space with a radius of approximately 3 feet from the center of the intended hole. Use a weedeater or lawn mower set to its lowest setting to scalp the grass. Removing grass minimizes competition for nutrients and prevents regrowth through the mulch after planting.
Step 2: Dig the Planting Hole
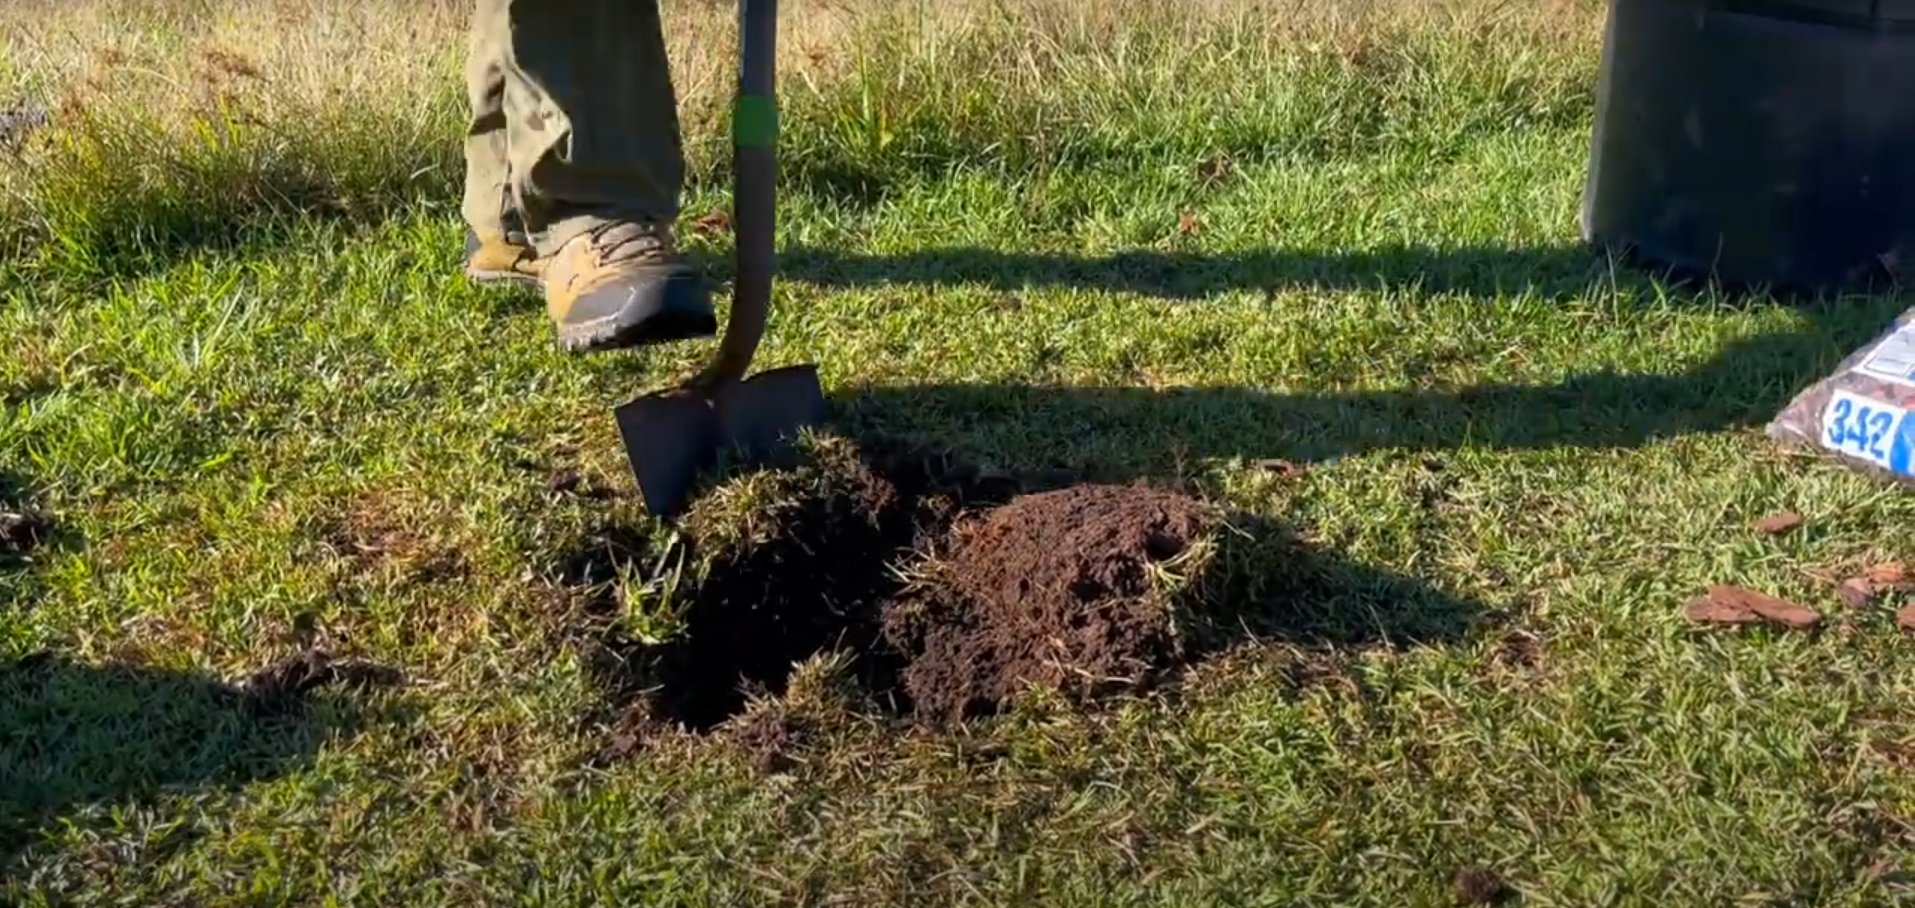
Next, it’s time to dig the planting hole. It should be at least twice the width of the root ball to provide ample space for the roots to grow into loosened soil. The depth should match the height of the root ball after preparation (as detailed in steps 3 and 4). Be cautious not to dig too deep. Start digging at the center of the chosen site and work outward, allowing the soil to naturally cave in, which makes the process easier. If the hole ends up too deep, backfill with native soil and lightly tamp it to create a stable base for the root ball and prevent further settling.
Step 3: Inspect and Prepare the Root Ball
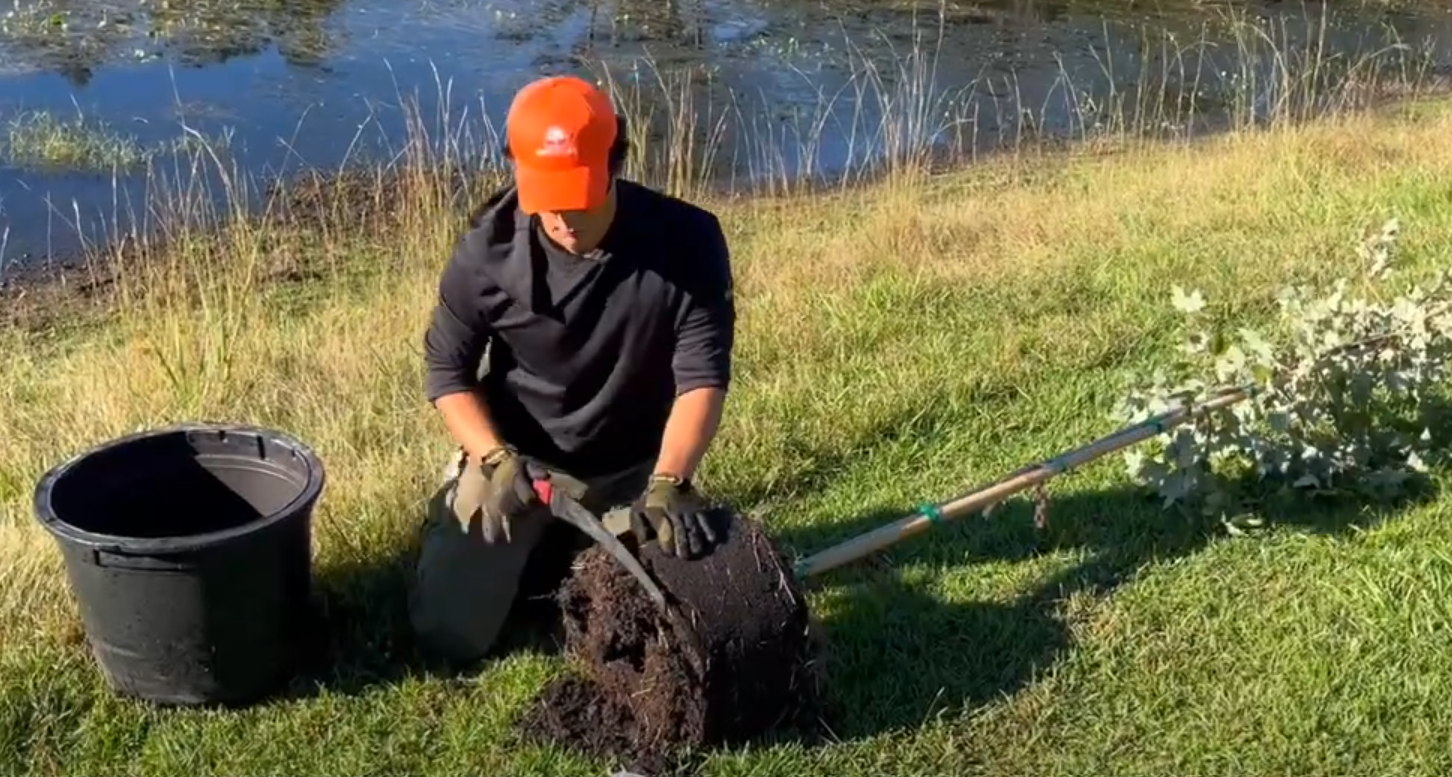
Carefully remove the root ball from its container. Then, inspect the root ball for circling roots, which can inhibit nutrient uptake and negatively affect the tree’s stability as it matures. Use a handsaw and pruners to remove these defects, trimming approximately ½ – 1 inch from the sides and bottom of the root ball. This encourages proper outward growth as the roots regenerate.
Step 4: Locate and Expose the Root Flare
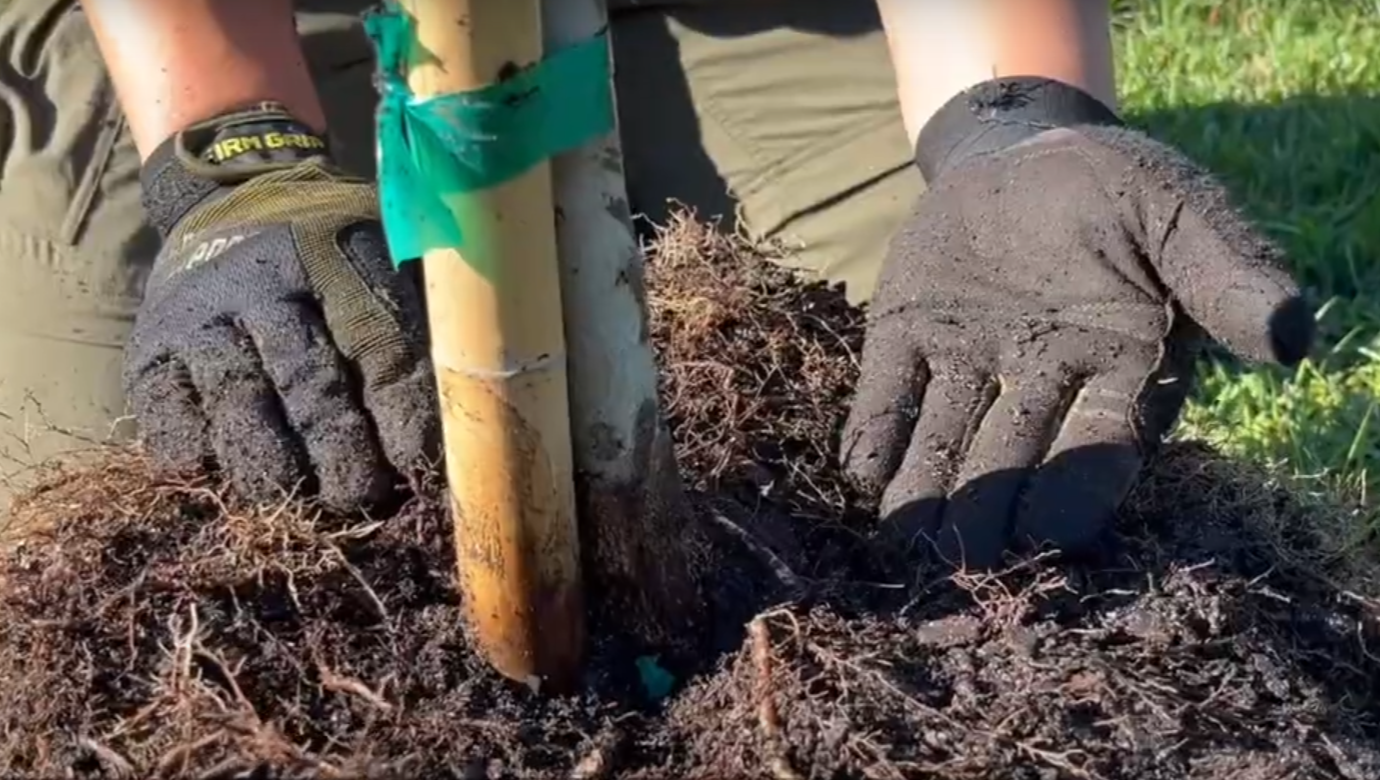
Expose the root flare—the area where the trunk transitions into the root system. This can be achieved by teasing or raking back the soil that’s been mounded around it in the pot. The root flare must be visible and positioned at or just above ground level to ensure proper oxygen flow to the roots. For container-grown trees, it’s not uncommon to remove two or more inches of excess soil before exposing the root flare.
Step 5: Position the Tree and Backfill
Place the tree in the center of the hole, ensuring the trunk is straight. Check the planting depth by laying a rake handle across the hole. The top of the root ball should be at or just slightly above ground level. Use the original soil from the hole to backfill around the root ball. Add soil in layers, lightly tamping each layer to eliminate large air pockets without compacting the soil excessively.
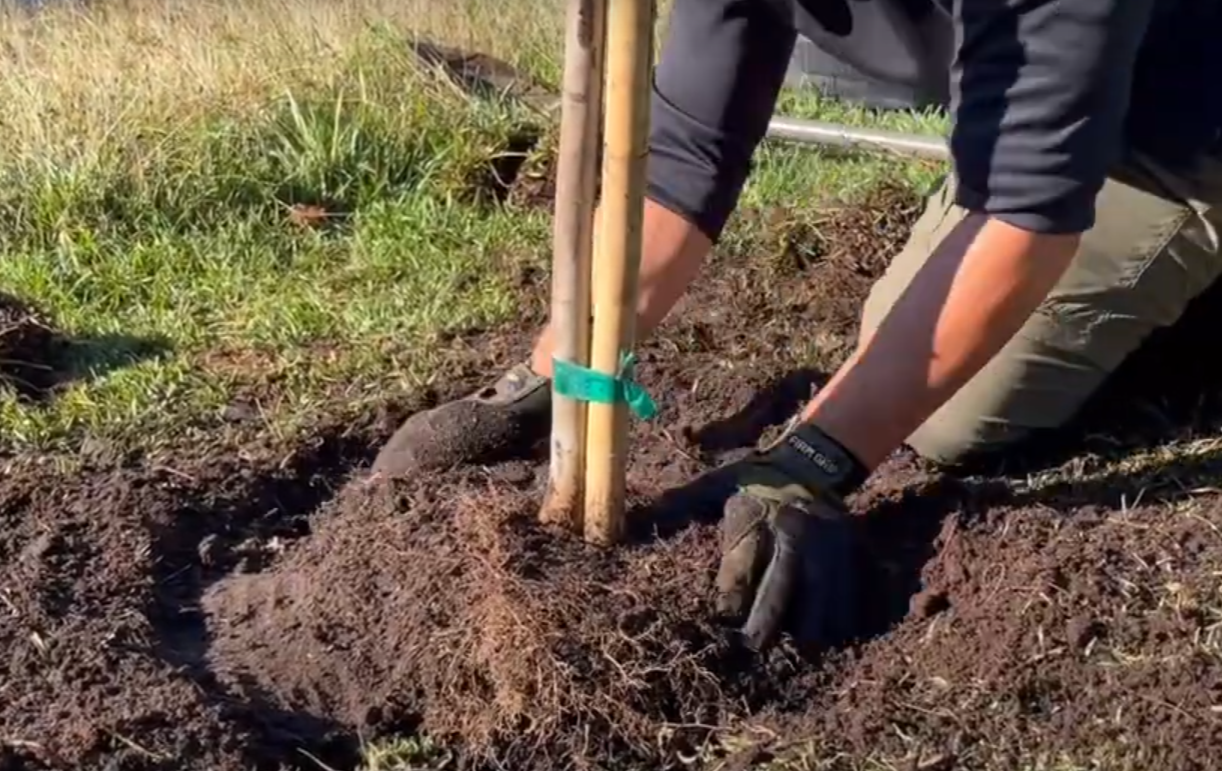
Step 6: Create a Water Retention Ring
Use the leftover soil to build a circular berm, or soil ring, around the tree’s base. Position it about 2–3 feet from the trunk. This ring channels water directly to the critical root zone, improving water efficiency.
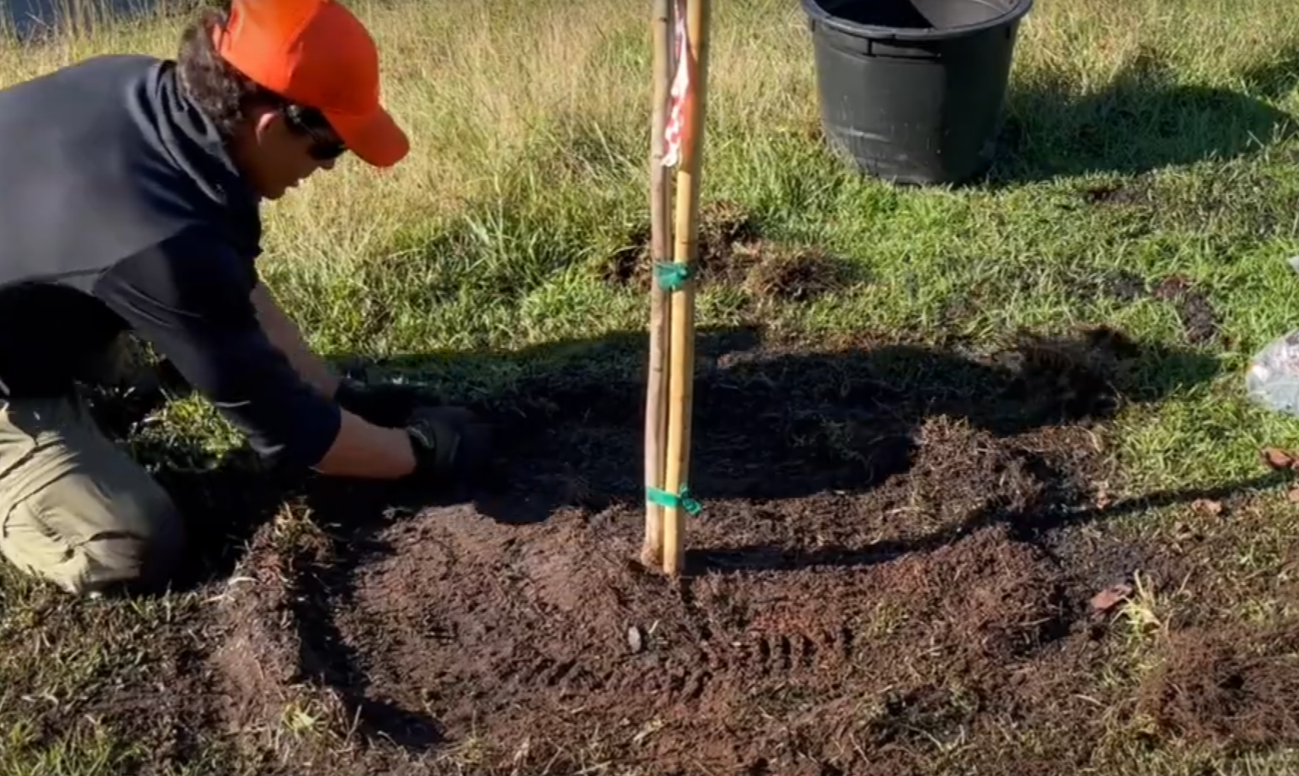
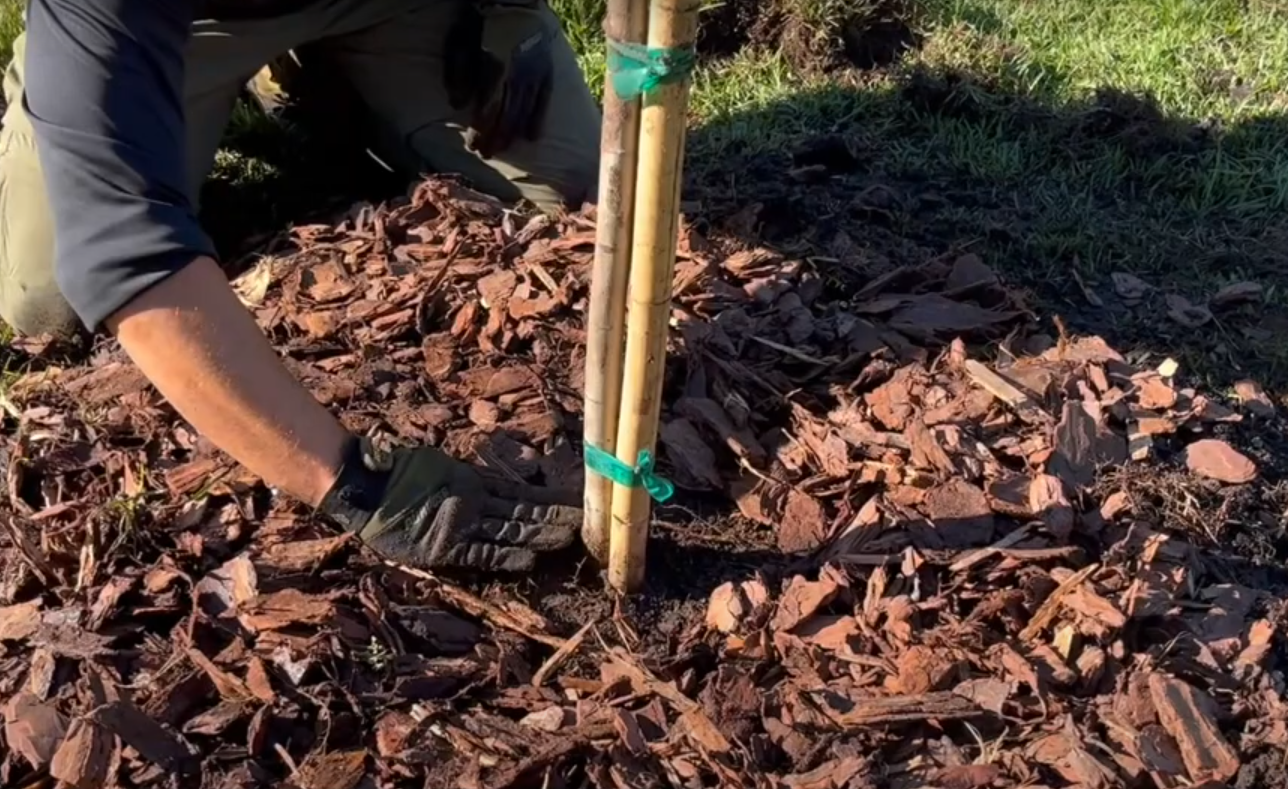
Step 7: Apply Mulch
Spread a 2–3 inch deep layer of organic mulch, such as wood chips, pine straw, or bark, over the cleared area, approximately 2-3 feet from the base of the tree. Leave a 3-inch gap around the trunk to prevent moisture-related diseases. Mulching provides several benefits including retaining soil moisture, suppressing, weeds, and improving soil structure and nutrient content as it decomposes. For best results, continue to extend the mulch to the tree’s drip line—the outer edge of its canopy, as it matures.
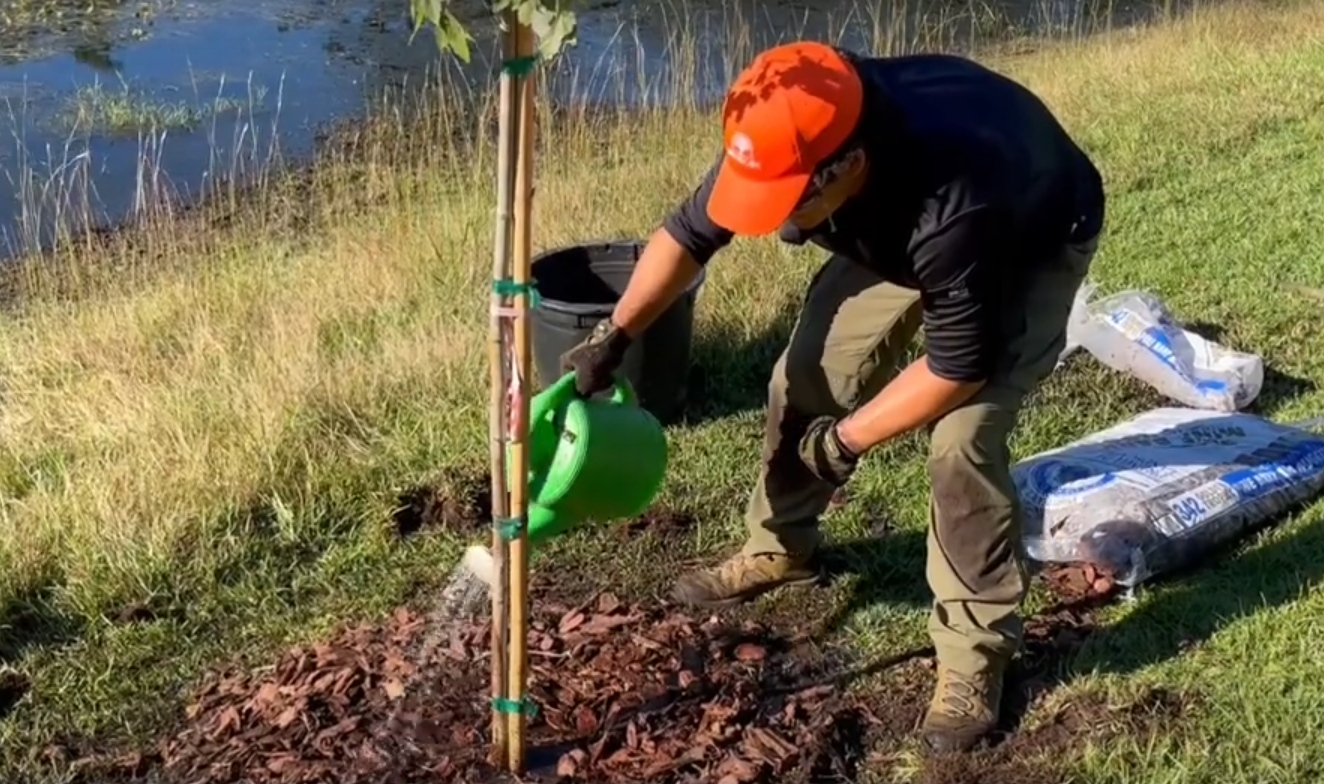
Step 8: Water Properly
General Guidelines:
- Use 1 gallon of water per 1/2 inch of trunk caliper (diameter measured 6 inches above the ground) per watering. For example, a tree with a 1-inch caliper needs 2 gallons of water per watering, and a tree with a 2-inch caliper needs 4 gallons of water per watering.
- Use a hose or watering can with a shower head. This provides a gentle delivery method that prevents erosion or compaction of the soil surrounding the root ball.
Irrigation Schedule for Trees 2-inch caliper of less:
Warm Season (April–October):
- First 2 weeks: Water daily.
- Next 2 months: Water 3 times a week.
- Following 2 – 6 months: Water once weekly.*
Cool Season (November–February):
- First 2 months: Water 3 times a week.
- Following 2 months – 6 months: Water once weekly.*
*Duration of irrigation is based on the caliper of the tree. Larger trees will need to be watered for a longer duration. Additionally, supplemental watering may be required during droughts, especially during the first two summers.
Additional Tips for Success
- Stake the tree only if necessary (e.g., in windy areas or loose soil), and remove stakes after one growing season.
- Avoid using fertilizer at this stage unless the soil is notably nutrient-poor. Newly planted trees often cannot absorb these nutrients effectively due to underdeveloped roots, and excess fertilizer can potentially burn the roots. Instead, apply a 1-inch layer of compost as a top dressing before mulching. This provides a gentle, natural source of nutrients that supports healthy root development.
- Regularly monitor soil moisture to prevent over- or under-watering.
- Avoid pruning newly planted trees except to remove damaged or dead branches.
For additional information, check out these links on tree care for homeowners from the UF/IFAS extension office and the ISA.
https://hort.ifas.ufl.edu/woody/planting.shtml
https://edis.ifas.ufl.edu/publication/EP314?downloadOpen=true
https://www.treesaregood.org/treeowner
By following these steps and providing ongoing care, your tree will have the best chance to grow strong and healthy, contributing to a greener future.